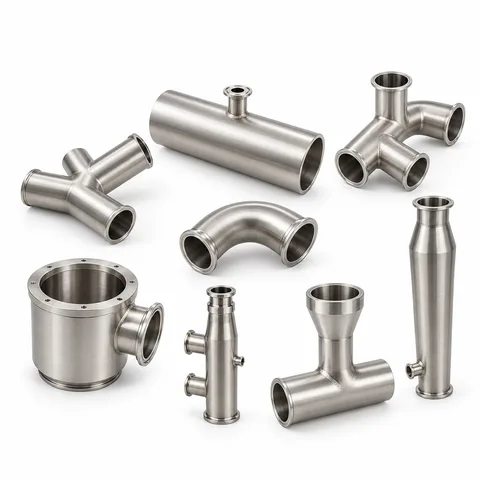
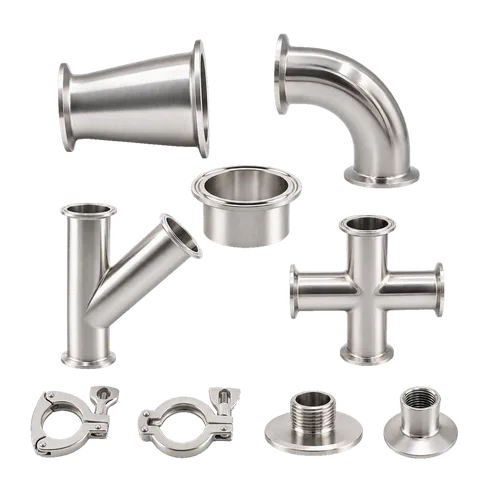
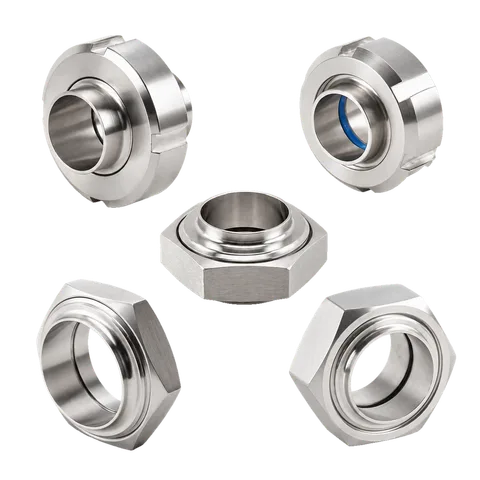
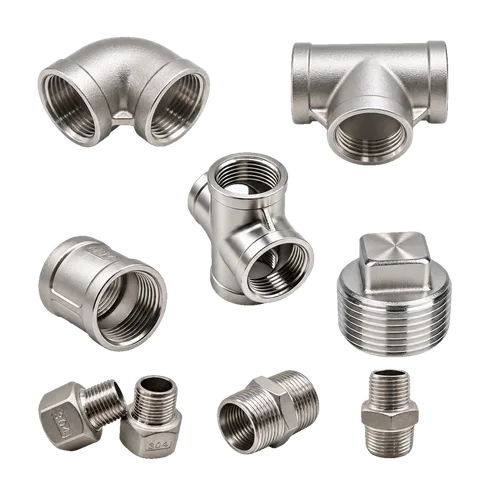
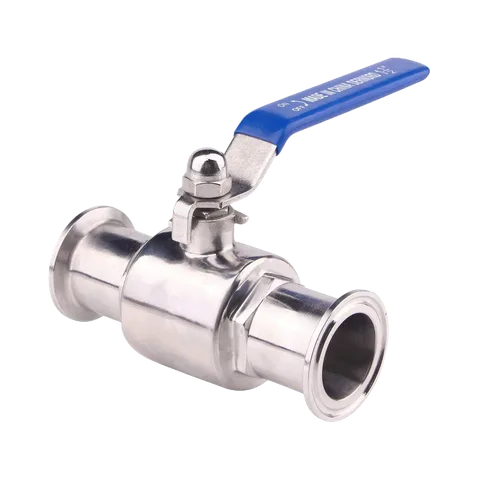
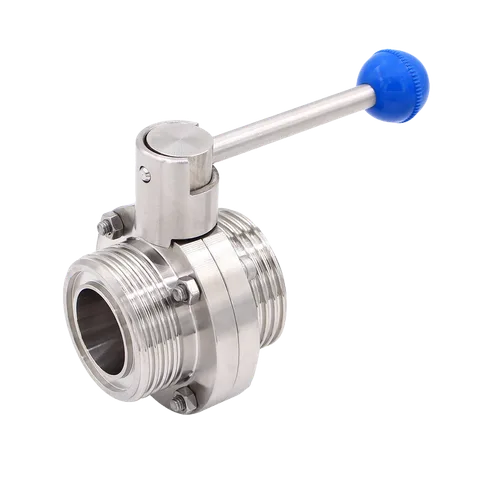
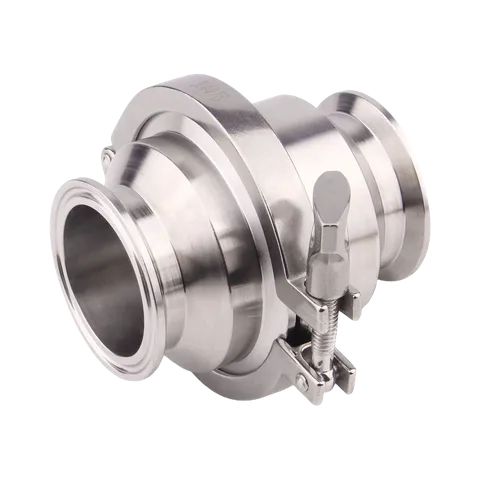
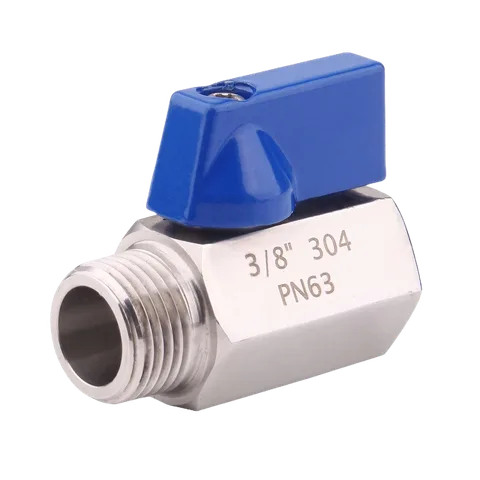

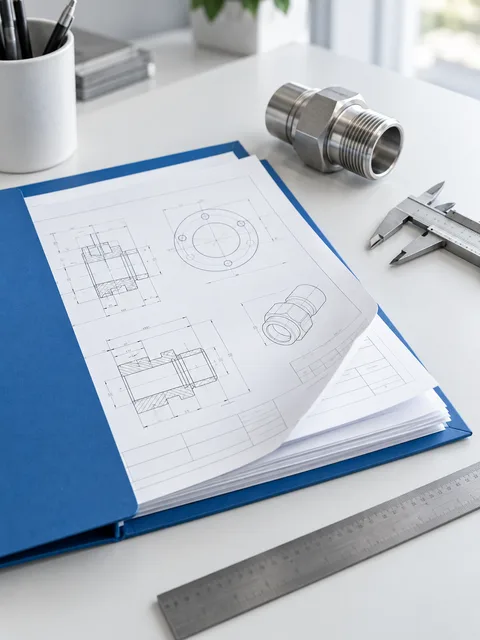
For a replacement fitting, identify the existing connection before choosing a nominal size. For a new line, decide where the pipework must open for maintenance. These two starting points lead to different purchasing questions, even when the fittings carry the same size label.
1. Choose where the line needs to open
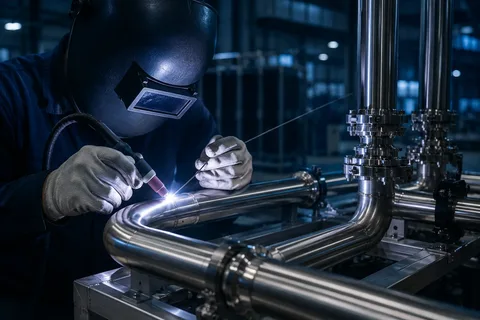
Use permanent welds for fixed runs and plan removable joints where equipment must come apart.
Connection | Useful when | Main dimensional check |
|---|---|---|
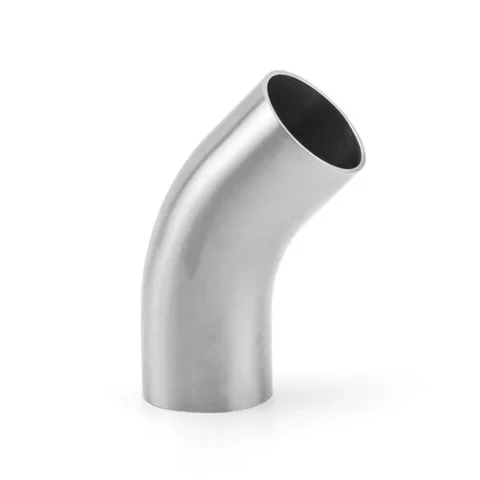
Butt weld | Building a fixed pipe run | Tube OD, wall and weld ends |
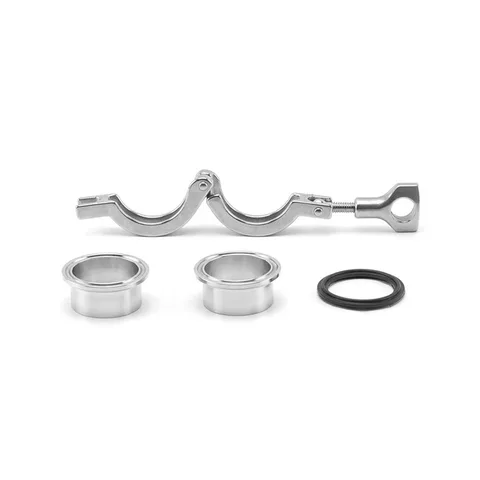
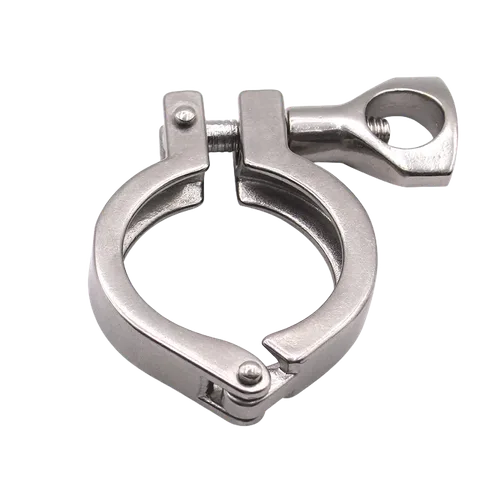
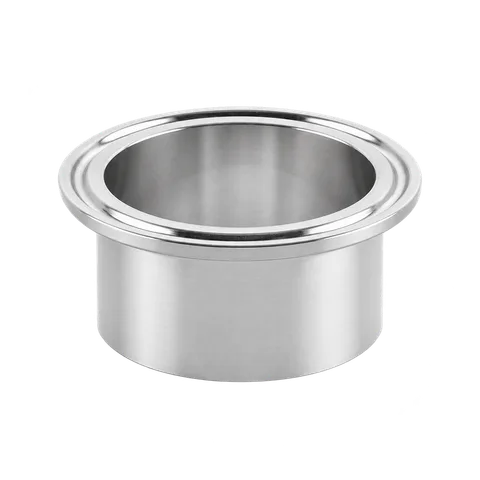
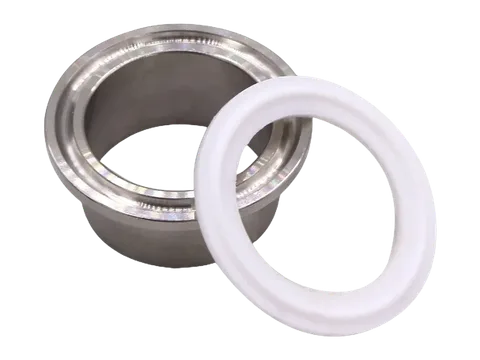
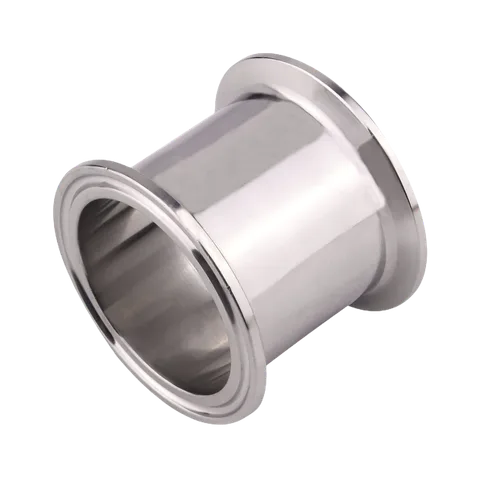
Tri-Clamp | Removing a pipe or equipment connection | Ferrule profile, bore, gasket and clamp |
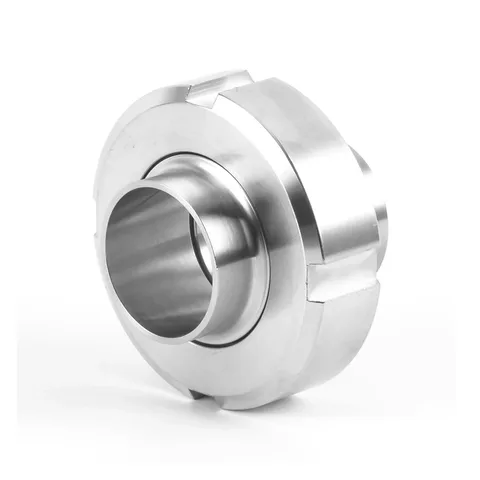
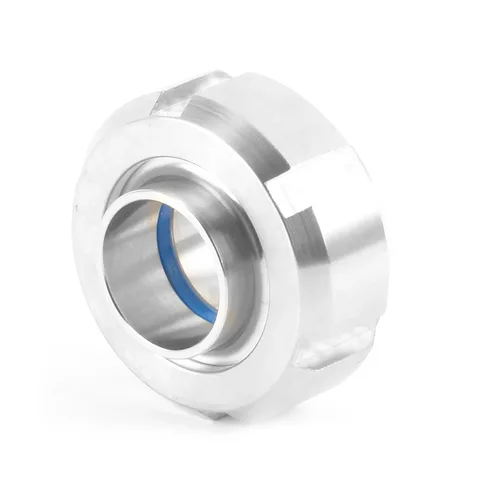
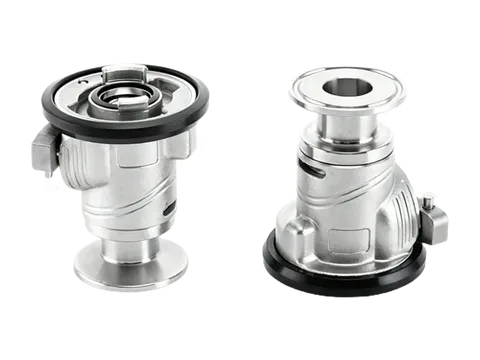
Sanitary union | Replacing or extending an existing union system | Male, liner, nut and seal form |
A weld removes a detachable joint but adds fabrication and inspection work. A removable connection needs space to separate the ends, not just room to turn the nut. Mark those access points on the layout before counting fittings.
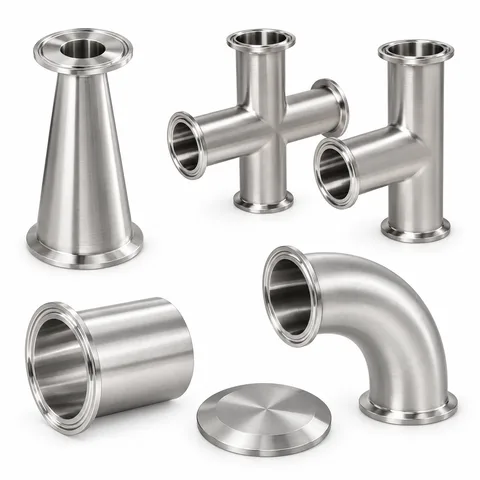
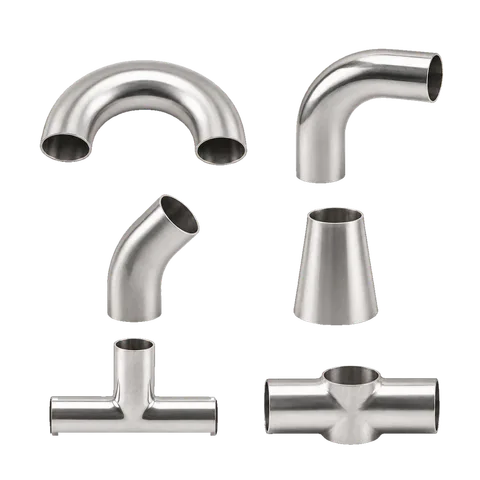 Butt-weld fittingsCompare elbows, tees and reducersView range
2. Describe the tube and both mating ends
Keep tube dimensions separate from the connection size; record each end of an adapter independently.
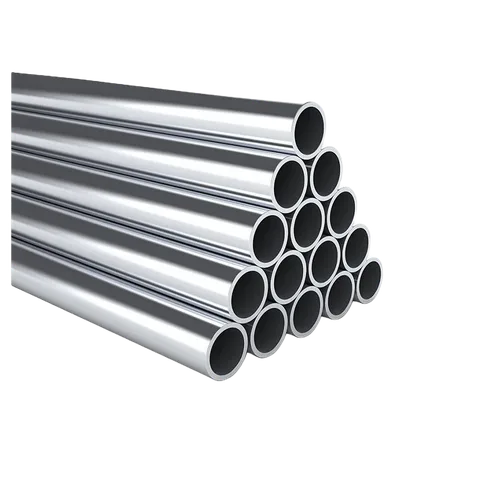
For weld fittings, tube OD and wall thickness define the pipe interface. Bend radius and centre-to-end dimensions determine whether a replacement reaches the existing pipework. State the drawing reference and dimension endpoints so overall length is not confused with a centreline measurement.
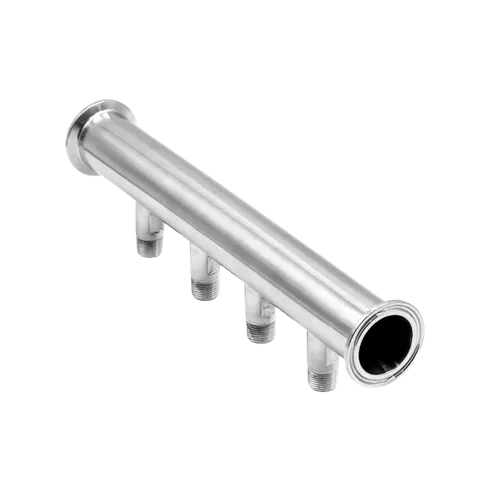
For a clamp end, compare tube OD and flange OD using the Tri-Clamp size guide; then check the bore and seal profile.
For DIN 11851 or SMS unions, identify the male, liner, nut and seal as a mating system. A nut that starts on a thread does not prove the seating faces match. Photograph the separated parts and record the thread and seal section when replacing an unidentified union. A sample is useful alongside these measurements.
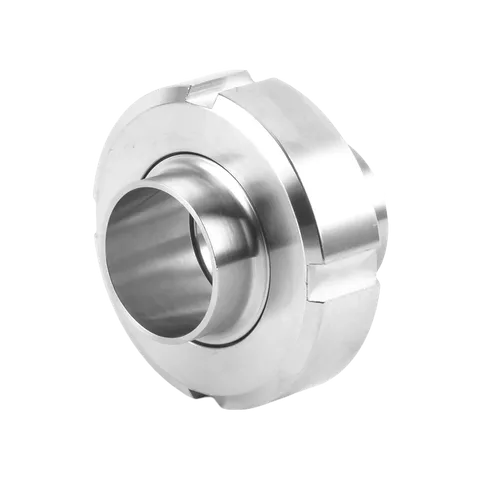 DIN 11851 unionIdentify the mating parts and sealView product
3. Specify the wetted surfaces
Select the metal and seal against the process fluid and cleaning cycle together.
304 and 316L are common choices; concentration, chloride exposure and cleaning chemistry matter more than an industry label. For seals, include the fluid, cleaning chemicals, temperature and contact time. A seal suitable for production may face a different duty during cleaning.
If surface finish matters, identify the wetted surface, Ra limit and inspection method. Mechanical polishing and electropolishing describe treatments. Joint alignment, the bore transition and weld condition also affect the installed surface.
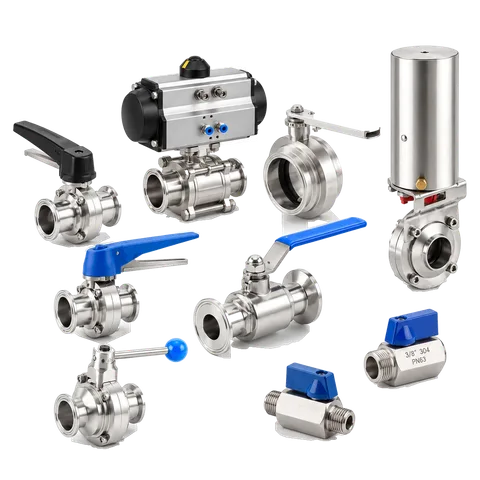
For valve flow paths and cleaning access, continue to the sanitary valve guide.
4. Count components at each connection
Separate loose parts from complete sets so equipment ports are not counted twice.
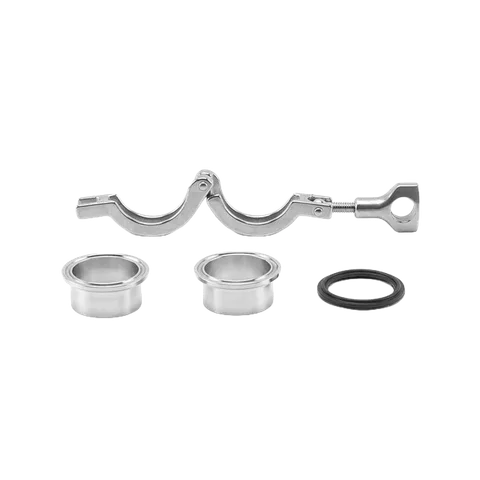
An independent clamp joint normally needs two ferrules, a gasket and a clamp. A tank or valve port may already provide one ferrule. A blind cap replaces one open ferrule end; it still needs a matching seal and clamp. Confirm the supplied contents of each quoted set.
Use the Tri-Clamp assembly guide for gasket selection and joint checks.
List material reports or traceability requirements against the relevant line items. State a drawing revision where it controls dimensions or finish; a catalogue designation alone is not a product certification.
5. Turn one drawing item into a BOM line
Give the supplier one unambiguous item to price, including the dimensions that control fit.
Illustrative purchasing line, not a catalogue specification:
F-12 | Weld-end 45° elbow | Tube OD 38.1 × wall 1.65 mm | 316L requested | 12 pieces | Radius and end dimensions: drawing P-07, revision B | Wetted finish: project specification.
The example separates tube dimensions, material, quantity and the controlling drawing. For an adapter, describe end A and end B separately. For an unidentified replacement, attach the measured values and end-face photos, marking any dimensions still open. This gives a clear basis for resolving fit before a quotation becomes an order.